Yesterday, I posted about my hike into Waipi’o Valley. One feature of the valley is that wild horses live there. These appear to be ‘wild’ in the sense that they aren’t owned, but they’re not the wild mustangs of the wide open west.
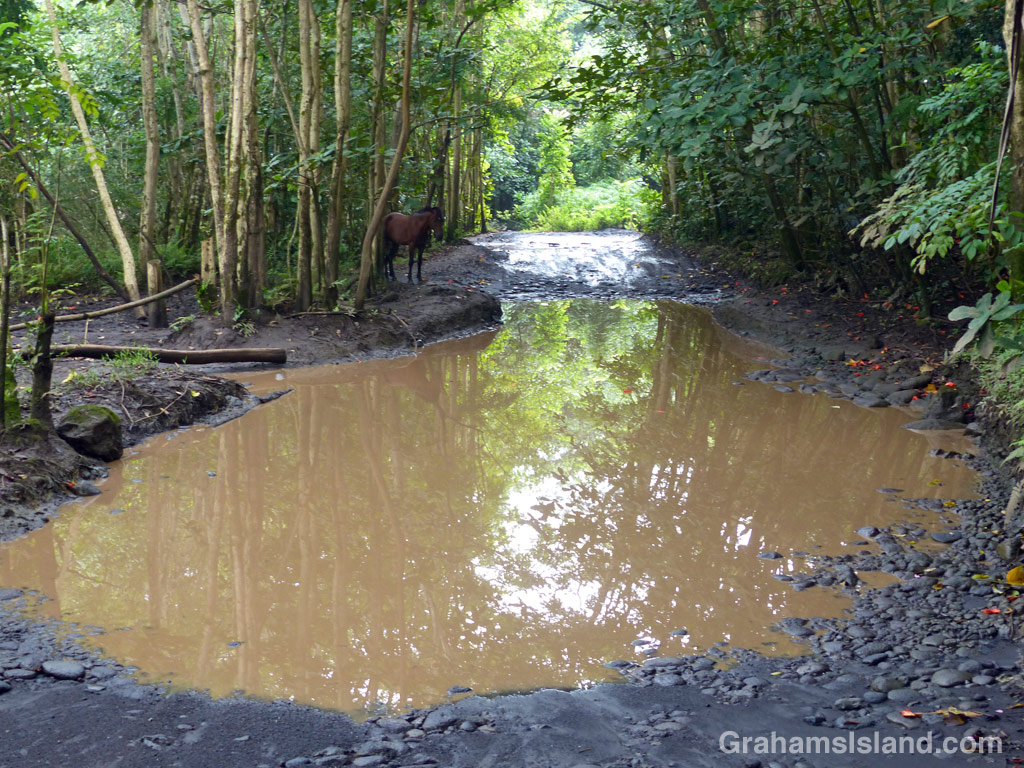
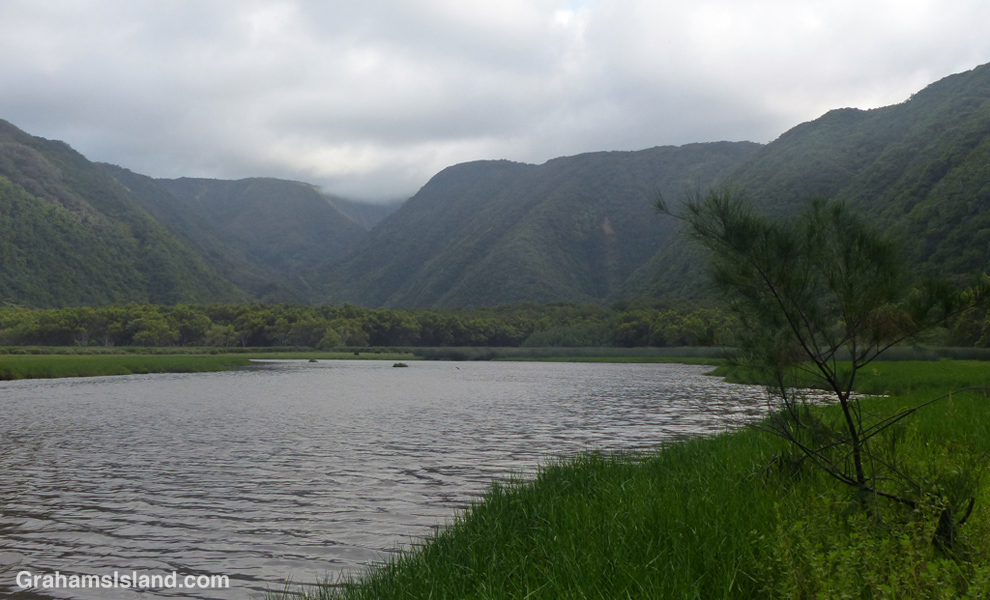
I saw the first of them when I came to this large lake spanning the sandy road leading to the beach. At first I didn’t notice it, but as I looked for my best path around the pond, I saw it standing off to the side, by the trees. My best path would take me in the horse’s direction; the other side looked too muddy.
I looked at the horse again. It hadn’t moved. Not at all. Not a swish of the tail, not a flick of an ear. It was eerily still, so still I wondered for a moment if it wasn’t a super-realistic, life size model set there to disconcert tourists. No matter. I had to go by it and it would surely move then. As I approached, I spoke to it. Still nothing. I passed behind it. Not a twitch, not a blink. I walked to the other side of the road and took another photo. Nothing from the horse. A few more photos and finally the horse flicked its tail, the first sign of life since I initially saw it. After a while, the horse gathered itself, turned around, and eased into the trees.
Later, on my return after going a little way up the Muliwai Trail, I took the trail which runs through the trees behind the beach. A short way along the trail I just got a certain feeling. I turned around and there was a horse following me only about 10 feet behind. I hadn’t seen it. I hadn’t heard it. It looked at me, then turned toward the ocean. I walked on a few paces, then looked back. The horse was gone, nowhere to be seen.
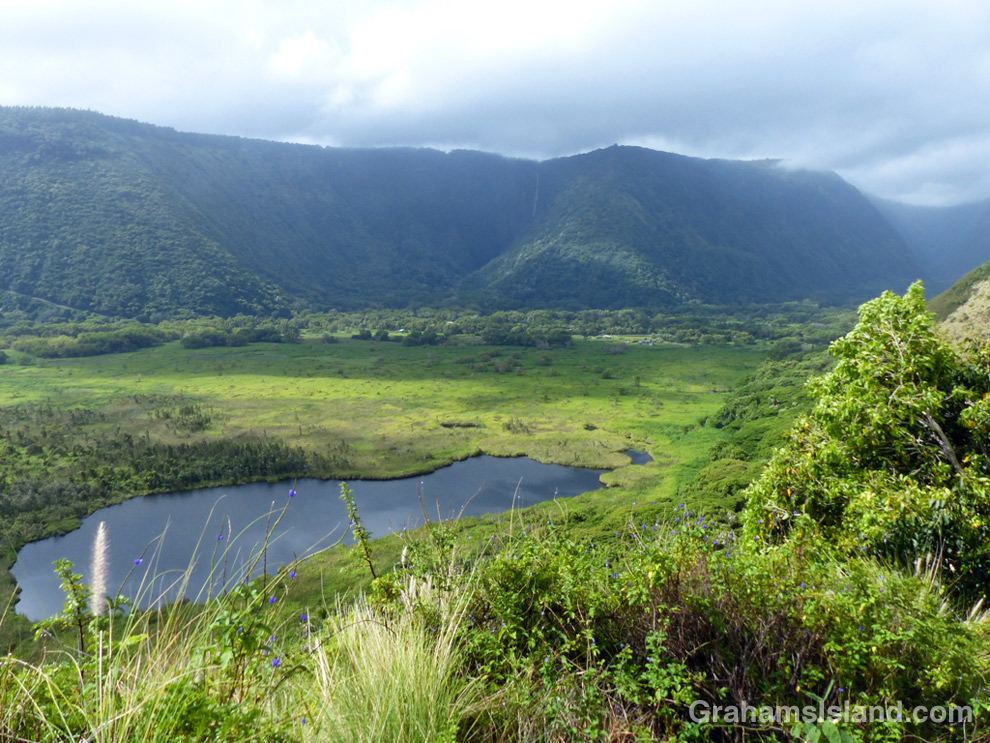
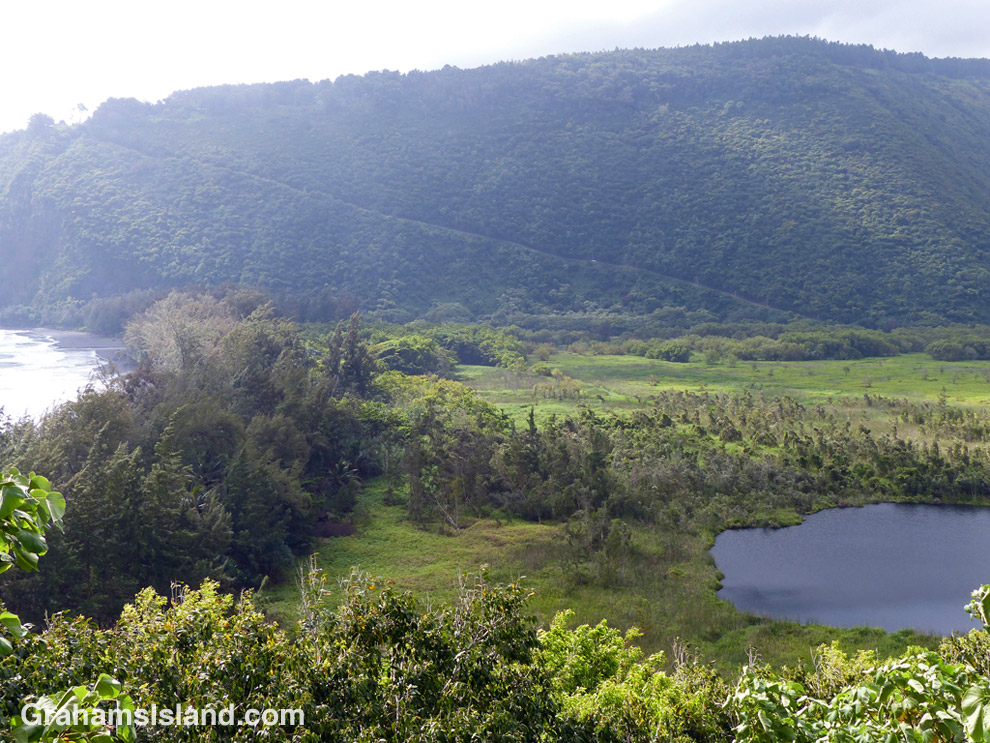
Waipi’o Valley with Hi’ilawe Falls in the distance, seen from a viewpoint on the Muliwai Trail which leads to Waimanu Valley.
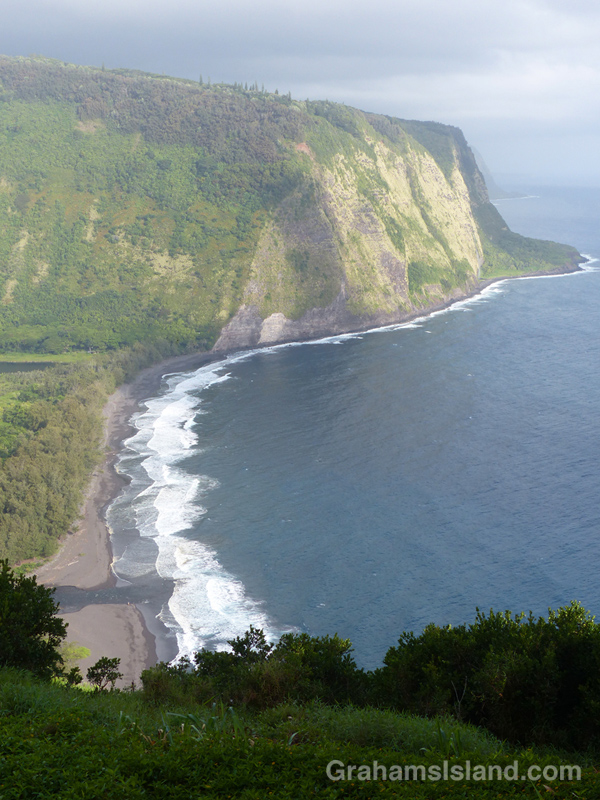
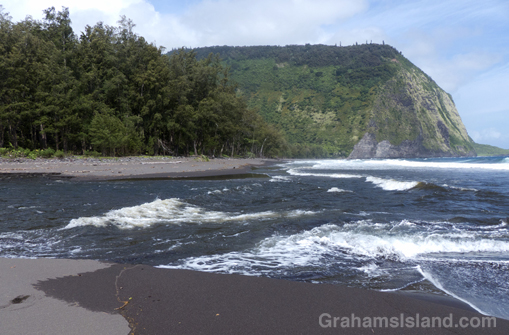
Waipi’o beach seen from the overlook near the parking area.
The stream crossing to reach the far end of the beach and the Muliwai Trail.
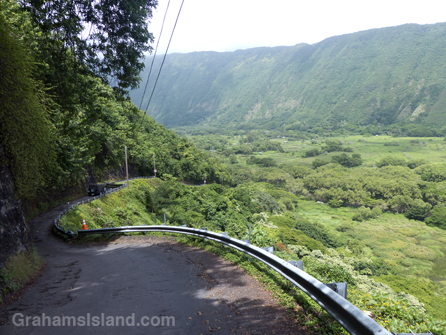
The road down into Waipi’o Valley is rough, winding, and very steep.
There’s a 22 miles stretch of the northern Big Island coast, from Pololu to Waipi’o Valley, that isn’t accessible by car. At the southeast end of that stretch, the road ends at the Waipi’o Valley overlook. From there, a paved road descends into the valley. It’s rough, winding, and very steep. The average grade is 25%, steeper in places. Four-wheel drive and healthy brakes are a must.
The alternative is to hike into the valley, which is what I did. The road drops about 800 feet in just over half a mile. It’s hard on the knees, but easy on the eyes. There’s a gradual unfolding of details that aren’t visible from the overlook – fields, dwellings, horses. The valley, which is important in Hawaiian history, was wiped out in a 1946 tsunami. Now it’s populated by taro farmers and people who tend to shy from society. It’s a bit of a clash for it to be a popular tourist stop.
At the foot of the hill is a junction. The road continues straight on into the valley, but the public access soon ends. In the opposite direction the road heads to the sea. After a little under half a mile, the sandy, lake-filled road breaks out to the beach. There’s lots of parking under the trees. On the other side of them is the beach, a long, curved stretch of smooth sand, interrupted only by the ‘stream’ that has to be crossed to access the far end.
I can’t say where it’s best to cross this stream; conditions vary from day to day depending on the state of the tide and the flow of water. I waded out just inland of the furthest reaching waves. I felt my way across the rounded rocks underfoot, feeling reasonably pleased with my progress. But about three-quarters of the way across, I reached the fastest flow of water, which had also cut the deepest channel. It was probably only a couple of feet deep, but it required great care not to lose my footing. This fast-flowing channel was soon crossed and I hauled myself out, somewhat relieved, on the sand at the other side.
A deserted beach stretched out ahead. I strolled along the water’s edge and, at the far end, cut inland to find the Muliwai Trail, which leads to Waimanu Valley eight miles farther on. The trail is steep and narrow as it zigzags up the cliff. After a short while it breaks into the open and lovely views emerge, back the way I’d come and up the valley where there’s a good view of Hi’ilawe Falls. This was my turnaround point. The return across the stream was easier, knowing what was involved. The hike back up the road to the overlook a steady, sweaty haul, though I was surprised it only took me 10 minutes longer than the descent.
I came across this bird during a hike. Hunched on the branch with feathers fluffed up, I thought it wouldn’t look out of place on a Christmas card, if snow coated the branch and leaves. Not the case here though. The temperature was in the high 70s and I was sweating accordingly.
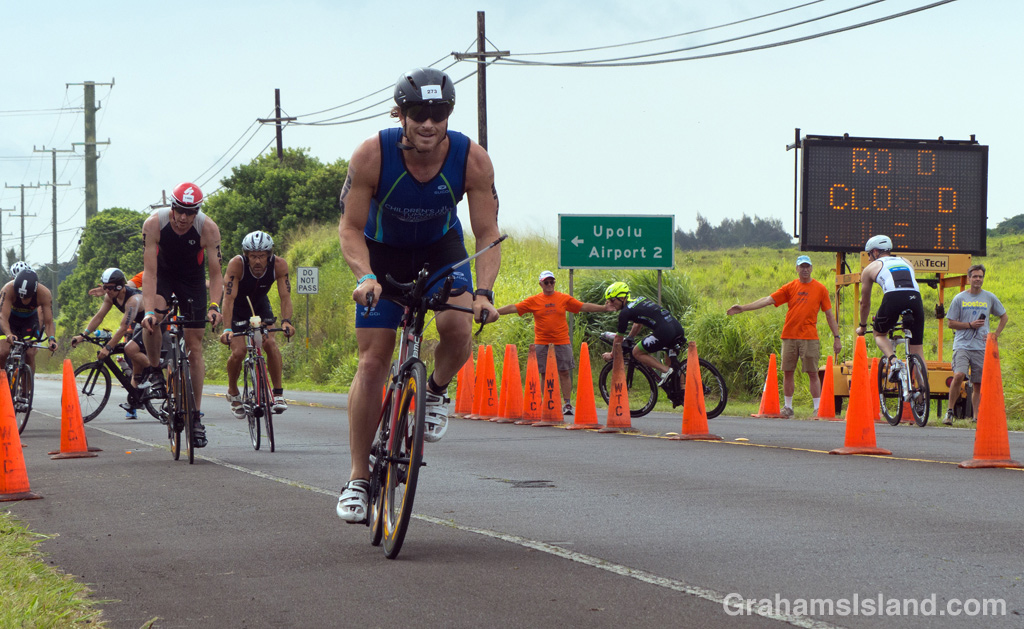
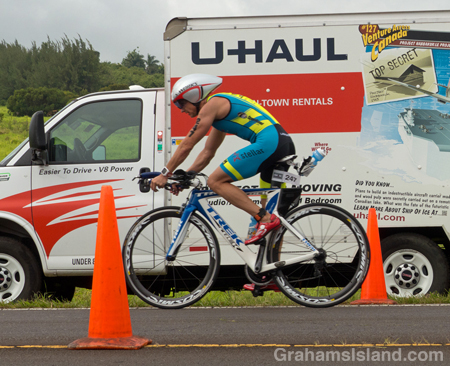
Yesterday, IRONMAN 70.3 Hawaii took place on the Big Island. It’s a triathlon featuring a 1.2 mile swim followed by a 56 mile bike ride and topped off with a 13.1 mile run. If all this sounds exhausting, as it does to me, bear in mind that the full IRONMAN race is twice as long.
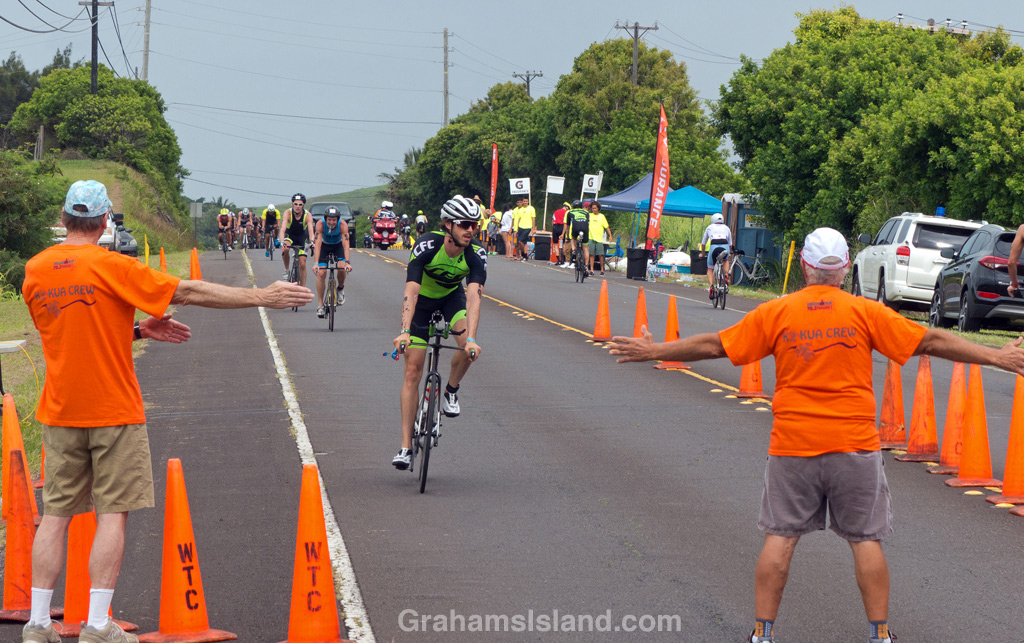
The world championship for the IRONMAN triathlon also takes place on the Big Island, in October. In both races, the turnaround for the bike leg is at Hawi on the northern tip of the island. For the October race the turnaround is downtown and a decent crowd gathers to cheer on the racers. The 70.3 event makes the turn about a mile out of town. By and large, only race volunteers are there to cheer on the cyclists.
I like to go out to watch both events. They’re colorful and dynamic. Sometimes I get caught up in the euphoria of it all and imagine myself on one of those bikes, leaning into the turn before heading back for the run. But then I go back to my truck and drive home.
For more information about IRONMAN, go to Ironman.com.
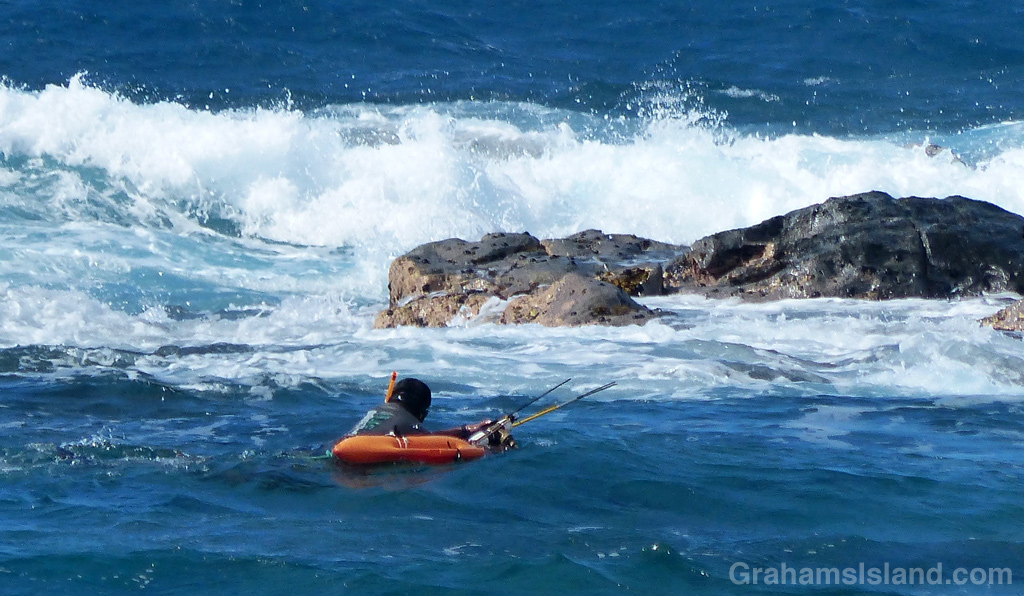
I’m the the world’s worst fisherman with total catches counted on one hand and the price for those fish, in terms of lost tackle, etc., coming in around $100 a pound. However, a lot of people on the Big Island fish, especially when the moon is right, whenever that is.
This man was fishing on a calm, warm early-evening. It’s an idyllic-looking scene, but I wasn’t tempted to join him.
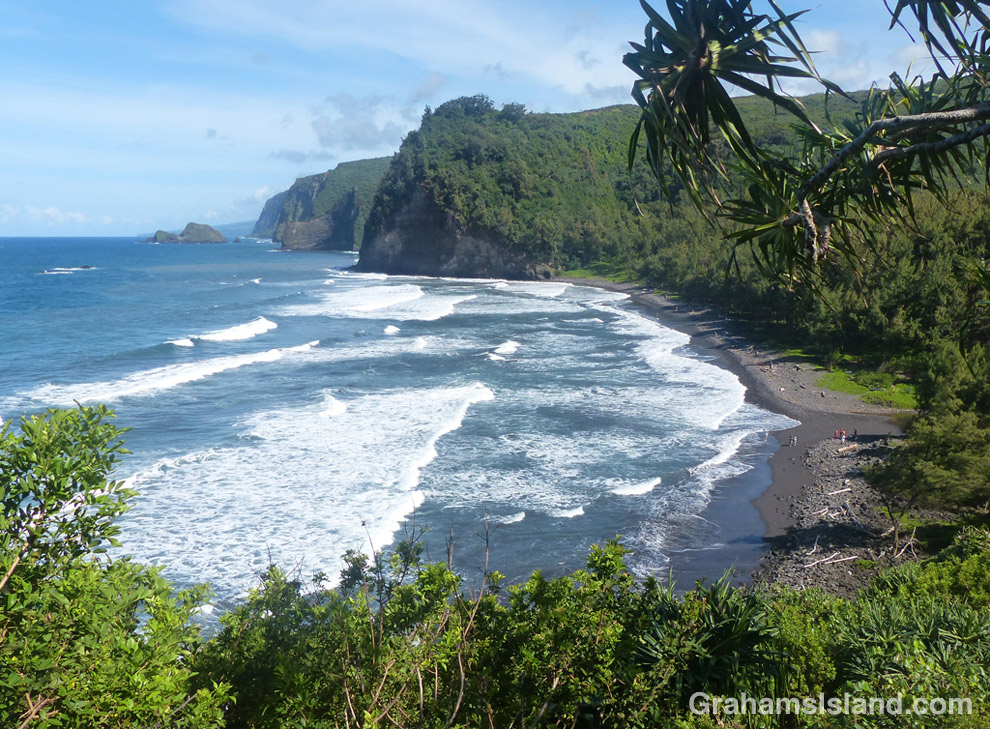
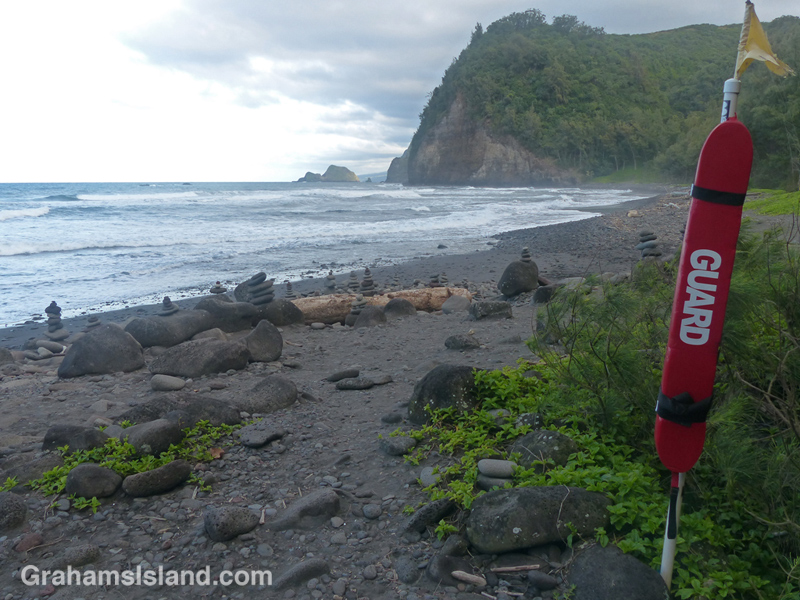
Pololu beach seen from the trail down from the parking area.
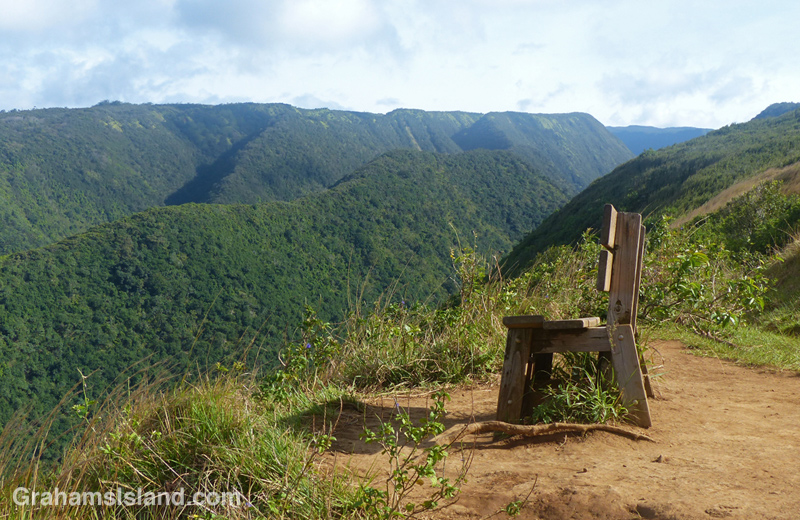
The bench at the lookout above Honokane Nui valley and the views toward the Kohala Mountains.
The bench and coastal views.
Pololu valley lies at the end of highway 270. It’s a popular destination. Most people find a parking space (not easy), snap a few photos, then climb back in their cars and try to get out without hitting anything (there’s no real turnaround).
A moderate number brave the steep switchback trail to the beach. This is worth it as better views open up, even part way down the trail. It’s 15-20 minutes down, 25-30 back up, depending on your condition and rate of hiking. If it’s rained recently the ground can be super slick.
Once at the beach there are options. (Bear in mind that only the beach is public. Everything else is private land.) There’s the view inland, up the Pololu River valley to the mist-shrouded Kohala Mountains. There’s the area just inland from the beach where people camp among the trees even though that’s not allowed. There’s the beach itself, which is mostly rounded rocks with black sand if the tide is low. And there’s the ocean, which looks inviting after that hot, sweaty hike, but is exceedingly dangerous with fierce rips, and only for those who really know what they’re doing, which excludes me.
Then there’s another option which very few take. This is to walk to the far side of the valley (following the trail just inland from the beach itself is easiest) until it trends upwards into a narrow gulley. This area gets a lot of rain, so this part of the trail is likely be muddy. It’s steep, narrow, and cut off from any breezes that may have been blowing on the beach. From time to time, views back to the beach open up and are worth taking in, if only to catch your breath.
After a while the trail comes out into the open and is less steep. I always think this is the end, but it’s not. It dips again into a shallow valley with low hung branches and much traveled by wild pigs. Then it’s up the other side, far less steep than the first part of this stage, until the trail pokes through some low bushes into an open area. And there, in my humble opinion, is one of the finest sights on the island.
There are views up the Honokane Nui valley towards the mountains. There are views along the coast and out across the ocean. And to make it more enjoyable, there’s a bench where you can sit and take it all in. I have to say that on my most recent visit the bench was in much worse shape than the last time I saw it. The wood supports had rotted out on one side so there was a jaunty lean to it. But with care, it was still possible to enjoy a solid seat with an unparalleled view.
From the parking area to the bench is about an hour walk (your timing may vary). Beyond the bench, the trail descends into the next valley, but an earthquake in 2006 rearranged this, basically taking the trail and dropping it several hundred feet. You can still get down there, but it involves scrambling directly down a steep hillside using ropes that have been strung there. Bear in mind that the ropes are no doubt going through the same decline that the bench has.
From the bench, the hike back to the parking area is about the same as it was on the way out (steep hike down, steep hike up). The last time I did this I saw a ton of vehicles and people around the parking area, 20 or 30 people on the beach, and three on the hike from the beach to the bench and back.
One difference in taking photos as a snorkeler rather than a diver, is that I can’t follow fish when they dive or hug the bottom. Also, when a fish is 30 feet down, the water affects how they look and the sun doesn’t reach them as much.
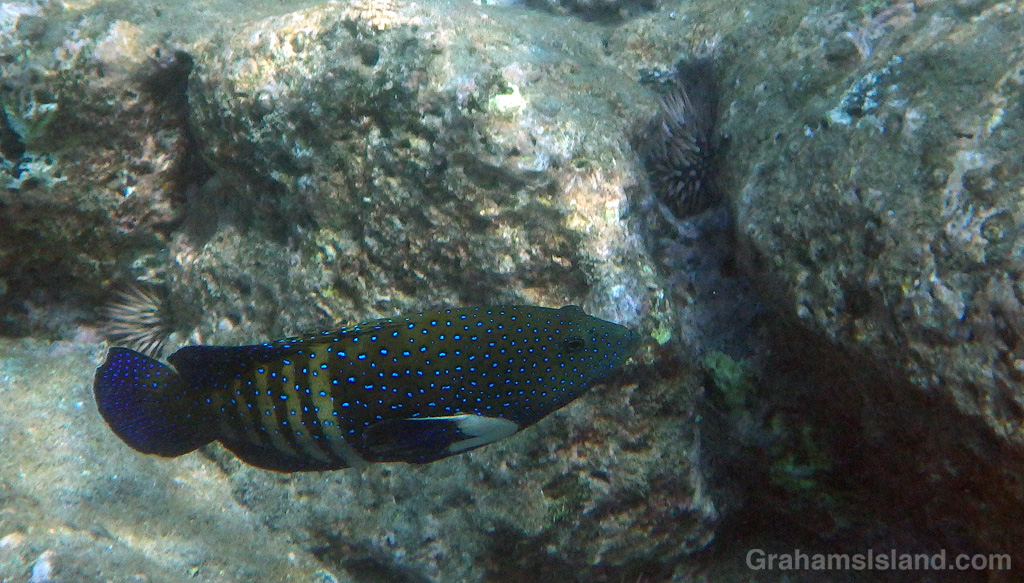
I mention this because I most often see peacock groupers in 20 to 30 feet of water where they look somewhat dull in color. They also tend to be quite shy, hurrying for cover under ledges or whatever other shelter is at hand.
However, as with many kinds of fish, juveniles can often be found in shallower water. I happened on this young peacock grouper one day and it promptly headed for cover. Before it did though, I got a couple of good images that captured the sun bringing out the spectacular blue patterns that I never see when they run deeper.
In my attempts to identify what I see in the water, I use John P. Hoover’s book The Ultimate Guide to Hawaiian Reef Fishes, Sea Turtles, Dolphins, Whales, and Seals. His website is hawaiisfishes.com.